My Go-To Sushi Platter for When People Come Over
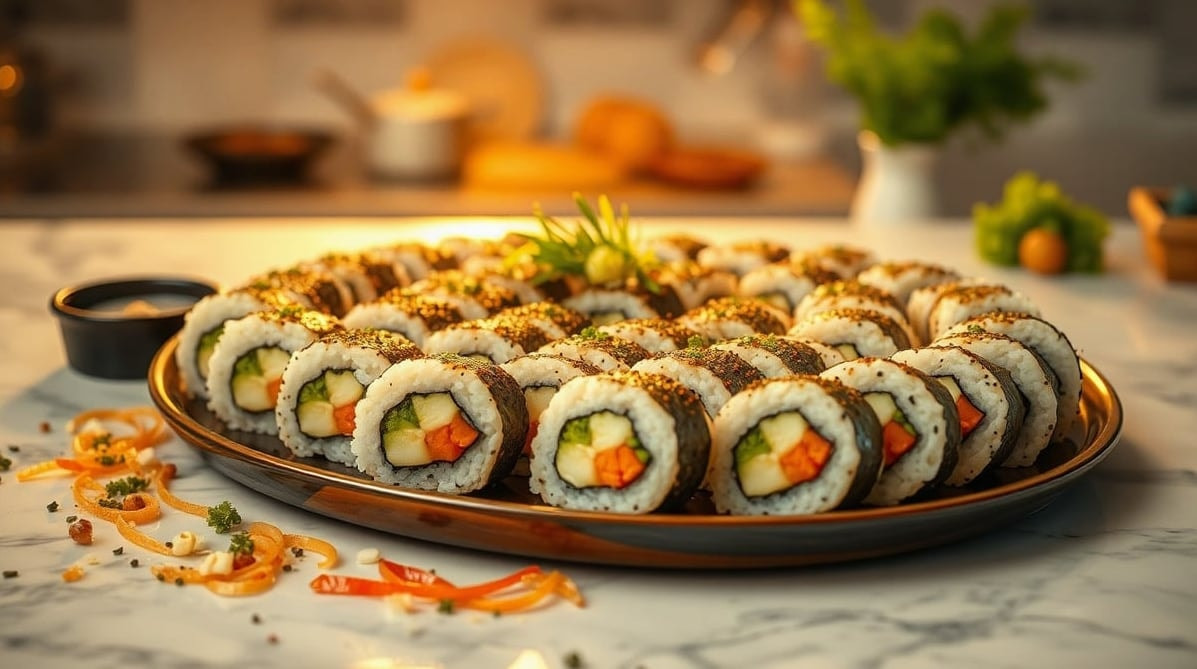
Okay, so full disclosure: for the longest time, I honestly thought whipping up a sushi spread was strictly restaurant territory. Like, seriously, the first time I attempted to roll my own at home? Total disaster. The rice was all wrong, the rolls basically disintegrated, and yeah, I ended up just ordering pizza. It wasn't pretty.
But then—and this is key—I totally cracked the code. Turns out, you absolutely don't need to be some master chef to put together a stunning platter that looks straight out of a fancy spot. It's pretty much all about smart assembly and, you know, a couple of sneaky shortcuts. Now? It's my go-to, absolute favorite thing to whip up when friends are coming over. For real.
Why This Is My Party Trick
Honestly? It's all about that massive wow factor. You seriously just set this platter down on the table, and without fail, people literally gasp. Every. Single. Time. It's wild.
But here's the real kicker—it's actually not hard at all! What I love about this is that it's way more about beautifully arranging ingredients you've already prepped than it is about doing anything super technical. I'm no sushi chef, guys, and I definitely don't pretend to be one. This is just really good, fresh food, presented in the prettiest way possible, you know?
Plus, it feels super special. And let's be real, it's a whole lot cheaper than paying for catering. Just sayin'.
What You'll Need
Okay, so fair warning—you can totally customize this thing to no end. But this list? It's basically my usual, go-to lineup, you know?
For the Base:
Sushi rice (cooked perfectly and seasoned with rice vinegar, sugar, and a pinch of salt)
Nori sheets (those awesome seaweed wraps, you'll need 'em)
Soy sauce, pickled ginger, and wasabi (these are seriously non-negotiable essentials)
For the Fillings & Toppings (Pick 4-5, but honestly, go wild):
Sliced avocado (grab one that's perfectly ripe, but definitely not mushy—this is key)
Imitation crab sticks or, if you're feeling fancy, real crab meat
Cucumber, cut into nice, thin sticks
Smoked salmon or, if your budget's happy, some fresh tuna
Cream cheese, cut into strips (seriously, trust me on this one!)
Mango, cut into sticks (yeah, it sounds a little weird, but it's *so* amazing)
Tempura shrimp (the frozen kind you can just bake? Totally fine, no judgment here)
For Garnish & Crunch:
Toasted sesame seeds (adds so much texture!)
Thinly sliced green onions
Panko breadcrumbs or tempura flakes
Sriracha mayo (pro move: just mix sriracha with your fave mayo—done!)
How to Make It
1. Prep everything first. Seriously, this is HUGE. Before you even think about rolling, get all your fillings cut into thin sticks or slices. Cook your rice and let it cool down a bit. Have your garnishes neatly arranged in cute little bowls. Trust me, a clean kitchen is a happy—and efficient—sushi-making kitchen.
2. Roll a couple of basic rolls. Don't overthink it! First, lay a nori sheet flat on your bamboo mat. Then, spread a thin, even layer of rice over most of it, but definitely leave about a 1-inch border along the top edge. Next, arrange your chosen fillings in a neat line right across the center. Pro tip: whatever you do, *don't* overstuff it—that's probably the biggest mistake folks make.
Okay, so now use the mat to roll it up tightly, starting from the bottom edge. Give it a gentle squeeze as you go to make sure it's nice and firm. Finally, seal that top edge with just a tiny dab of water. Easy peasy!
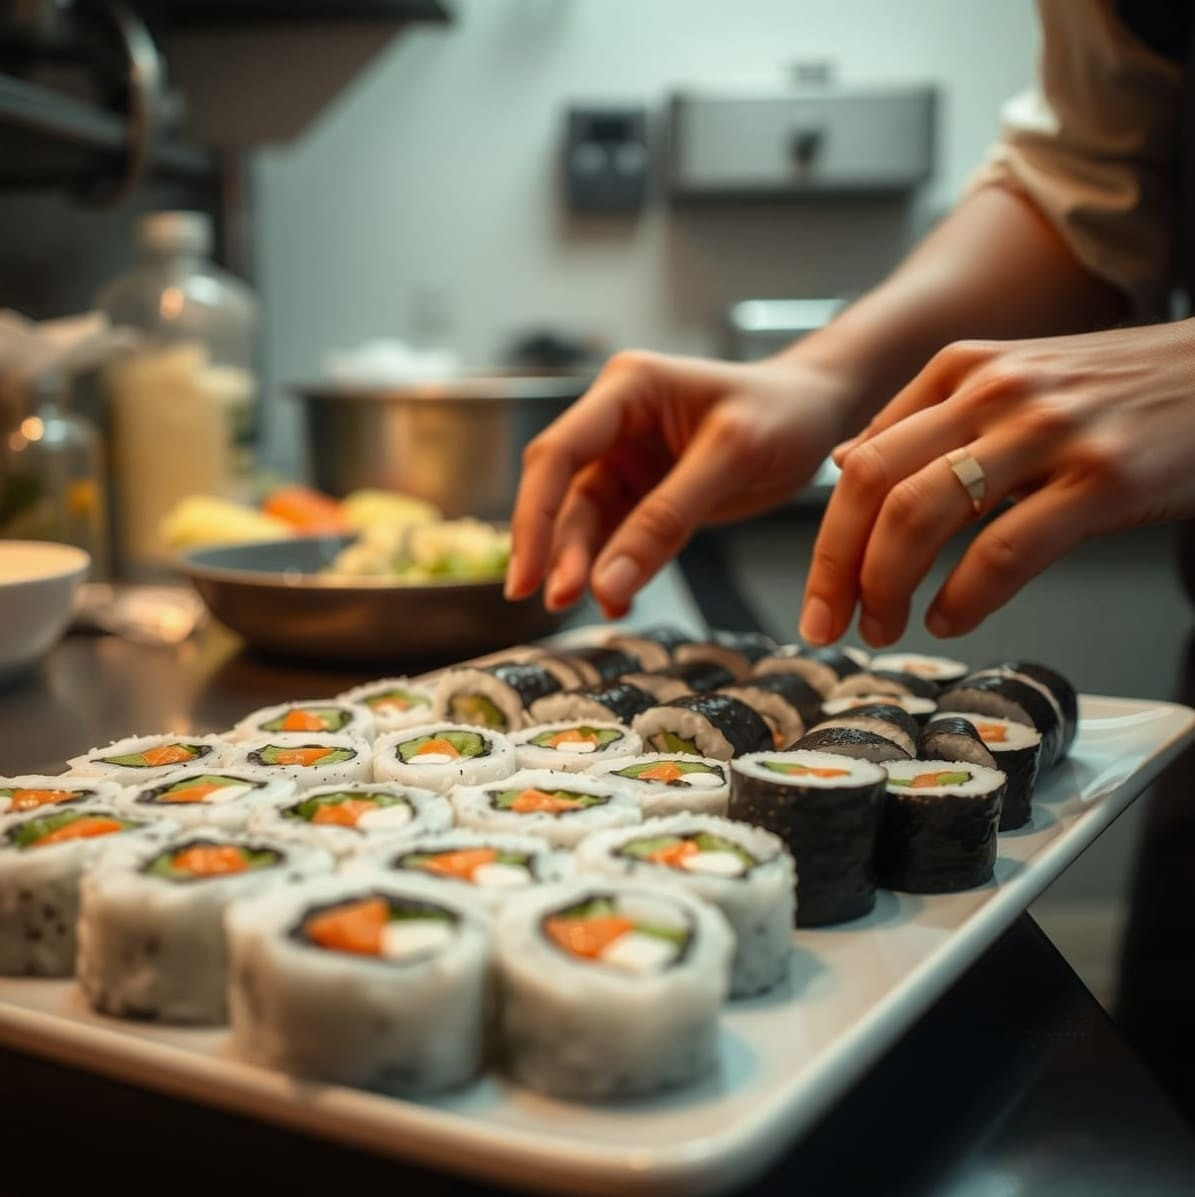
3. Get creative with the rest. You don't have to roll *everything*. Seriously, mix it up! You can totally make some nigiri—that's just little ovals of rice topped with a piece of fish. Or how about some sashimi? That's even simpler: just artfully arrange slices of fish right on the plate. Oh, and try an inside-out roll (where the rice is on the outside, kinda fun) then roll it in some toasted sesame seeds. It'll look super impressive.
4. Slice and arrange. This is where your inner artist comes out. Grab a super sharp knife—this is non-negotiable for clean cuts! And don't forget to wipe your knife with a damp cloth between each slice. This keeps everything tidy. Then, just start arranging everything on a big platter or a cool cutting board. Try grouping similar items together, and make sure to leave some strategic space for those little bowls of soy sauce, ginger, and wasabi.
5. Garnish like you mean it. Honestly, this is where the real magic happens, folks. Drizzle that sriracha mayo in pretty zig-zags. Scatter sesame seeds and green onions everywhere. Add a few generous piles of that vibrant pickled ginger. The goal here is to make it look incredibly abundant and bursting with color. Boom!
Tips From Someone Who's Made This A Hundred Times
Okay, so listen up—the rice is absolutely everything here. Make sure you rinse it until that water runs perfectly clear before you even start cooking. And here's a pro tip: season it while it's still warm! That rice vinegar mixture just absorbs so much better that way. It should be perfectly sticky, but never, ever mushy. You're aiming for that ideal texture.
Always wet your hands. Seriously, always. When you're dealing with the rice, just keep a little bowl of water right next to you. Dipping your fingers in it stops the rice from sticking like crazy, and honestly, it'll make your life a million times easier. Trust me on this one.
And hey, don't even *think* about stressing over making perfect rolls. For real. I mean it. Even the slightly lopsided ones—the "ugly ducklings," if you will—taste incredible. Plus, once you've sliced 'em up and arranged everything artfully on a gorgeous platter, no one's gonna be able to tell the difference. Promise!
Oh, and here's a brilliant store-bought shortcut. If you're seriously pressed for time (and who isn't, sometimes?), just swing by the grocery store and grab a pack of pre-made sushi. Then, you can totally "doctor it up" at home! Add your own fresh garnishes, maybe some extra fish, and all those fancy sauces on the side. I've done this countless times myself, and honestly? Zero shame. It's a lifesaver!
Nutrition Facts
So, just a heads-up—this is super estimated per serving, like, if you cut a medium platter into about six portions. Obviously, the actual values are gonna swing pretty wildly depending on what specific fillings you decide to load up on!
| Calories: | ~320 | |
| Total Fat: | 8g | 10% DV |
| Saturated Fat: | 2g | 10% DV |
| Cholesterol: | 25mg | 8% DV |
| Sodium: | 650mg | 28% DV |
| Total Carbs: | 45g | 16% DV |
| Fiber: | 3g | 11% DV |
| Sugars: | 6g | |
| Protein: | 12g | 24% DV |
| Vitamin D: | 1mcg | 5% DV |
| Calcium: | 40mg | 3% DV |
| Iron: | 2mg | 11% DV |
| Potassium: | 280mg | 6% DV |
So, there you go! That's my not-so-secret—but super effective—trick for basically being the hostess with the mostest. Honestly, it's just so much fun to put together, it's ridiculously delicious, and it genuinely makes everyone feel like you totally went all out. Every. Single. Time.
Seriously, give this a shot this weekend. You absolutely, positively won't regret it. Pinky promise!
You Might Also Like
 Chinese
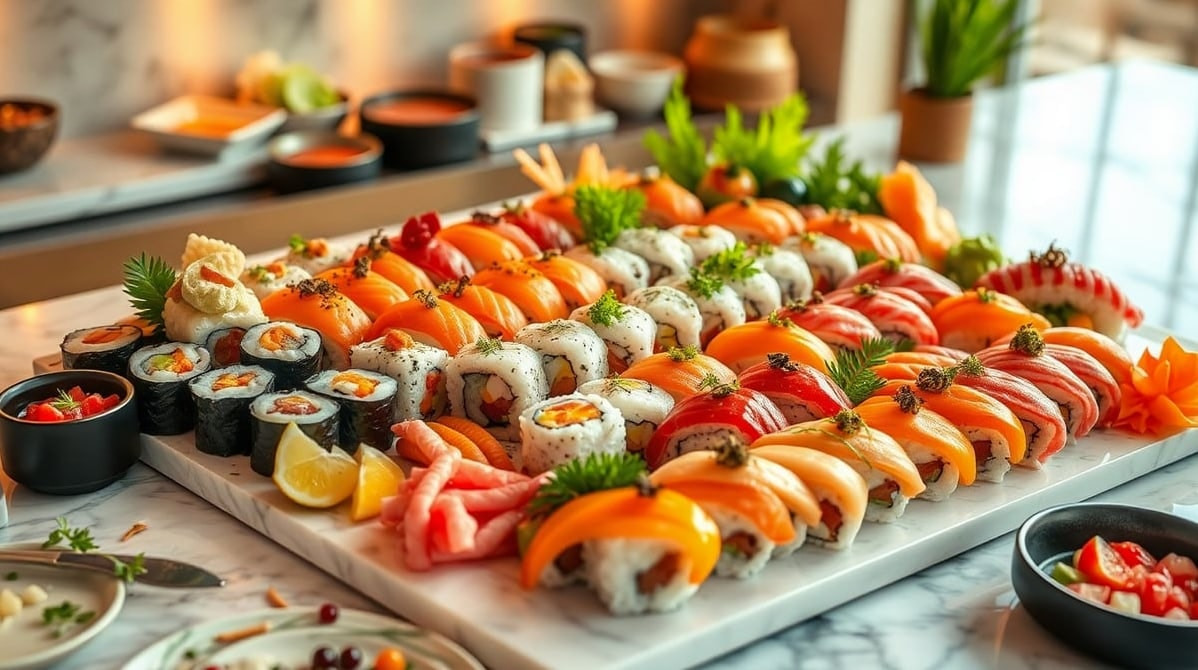
How I Make a Sushi Platter That Actually Impresses People
My go-to sushi platter formula for parties. It looks fancy but it's honestly pretty simple to put together. Your guests will think you're a pro.
 Chinese
Crispy Shrimp Balls with Sweet Chili Sauce – So Good!
These crispy shrimp balls are a total hit – crunchy outside, tender inside, and perfect with sweet chili sauce. Easy to make and addictive!
 Chinese
My Go-To Saucy Ramen Noodles Recipe (Better Than Takeout)
This easy saucy ramen recipe has a thick, flavor-packed sauce that's crazy versatile. Perfect for a quick weeknight dinner with whatever veggies you have.